
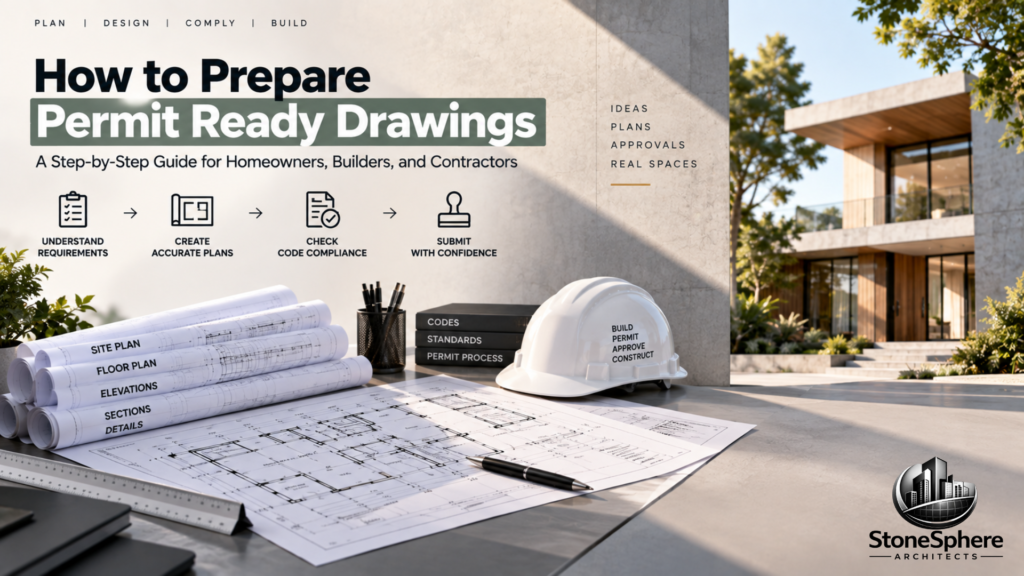
Submitting a rough sketch or a concept rendering to your building department and expecting approval is one of the most common mistakes homeowners and even some builders make. Concept drawings show intent, but they rarely include the dimensions, code references, or formatting a reviewer actually needs. The fix: preparing true permit ready drawings means following a clear, methodical process from defining project scope to final quality control, before you ever submit. This article walks through that process step by step, so your first submission has a real shot at approval instead of landing back on your desk with a rejection notice.
What Makes a Drawing Permit Ready?
Permit ready drawings are complete, code-compliant documents that give a building department everything needed to verify safety and zoning compliance in one pass. They go far beyond a design concept, including exact dimensions, material specifications, and structural details.
The distinction matters because concept sketches and permit sets serve different purposes. One communicates a vision; the other proves that vision meets legal requirements before construction can begin.
Step 1: Define the Scope of Your Project
Before drafting begins, get clear on exactly what you’re building. Is this a new structure, an addition, or an interior remodel? Will it involve new foundations, structural changes, or just a layout update?
The clearer this scope is upfront, the more accurately a drafter or architect can scale their approach. Vague project definitions lead to incomplete drawings that need revisiting later in the process.
Step 2: Research Local Requirements
Every jurisdiction has its own checklist, and skipping this step is one of the most common reasons permit ready drawings get rejected. Start by checking your city or county’s building department website for a residential or commercial submittal checklist.
Read Also: Building Permit Drawing Requirements You Should Know
Confirm whether your project triggers a structural review, energy compliance documentation, or a licensed professional’s stamp. These answers shape what your drafting team needs to prepare from the very beginning.
Step 3: Conduct a Site Survey or As-Built Review
For renovations or additions, accurate existing conditions matter as much as the new design. This step typically involves measuring the current structure, documenting electrical and plumbing layouts, and confirming site dimensions.
Skipping this groundwork often causes mismatches between the drawings and actual site conditions, which reviewers or inspectors catch quickly and send back for correction.
Step 4: Draft the Core Drawing Set
With scope and requirements confirmed, drafting begins on the standard components most permit ready drawings require:
- Site plan – property lines, setbacks, and existing structures
- Floor plans – dimensioned layouts with labeled rooms and egress paths
- Elevations – exterior views from each side showing height and materials
- Sections and structural details – framing, footings, and connections
- MEP layouts – mechanical, electrical, and plumbing systems where applicable
Larger projects often add a code summary sheet and energy compliance documentation to this list.
Step 5: Coordinate Between Disciplines
Architectural, structural, and MEP drawings need to align closely before submission. Mismatched grid lines or inconsistent labeling between disciplines is one of the most common reasons otherwise solid permit ready drawings get flagged during review.
Reviewing all disciplines together, rather than treating each set as a separate task, catches these conflicts while they’re still cheap and easy to fix.
Read Also: Structural Drawing Coordination: How to Avoid Conflicts Between Disciplines
Step 6: Perform Internal Quality Control
Before submitting, review the entire set as if you were the reviewer. Confirm every dimension, label, and code reference is accurate and consistent across all sheets.
A dedicated checklist pass at this stage, comparing your drawings against your local requirements line by line, catches the small errors that otherwise trigger an easily avoidable rejection.
How Long Does This Process Typically Take?
Timelines vary based on project size and jurisdiction, but preparing a complete set generally takes anywhere from two to six weeks depending on scope and complexity. A simple deck or small addition might move through drafting quickly, while a full home addition involving multiple disciplines takes longer to coordinate properly.
Building in extra time for at least one round of internal review, plus the building department’s own review period, helps set realistic expectations for your overall construction schedule.
Common Mistakes to Avoid Along the Way
A handful of avoidable issues account for most delays during this process. Watch for these before finalizing your submission:
- Submitting concept sketches instead of a properly dimensioned drawing set
- Skipping the local checklist review, leading to missing required documents
- Ignoring existing conditions during renovations, causing mismatches with actual site conditions
- Rushing quality control, leaving inconsistent labels or dimensions across sheets
Catching these issues during preparation, rather than after a rejection notice, saves real time and keeps your project on schedule.
Read Also: 15 Common Permit Drawing Mistakes to Avoid
Reviewing this list with your drafter before the set is finalized adds only a small amount of time but prevents most of the common back-and-forth with the review office.
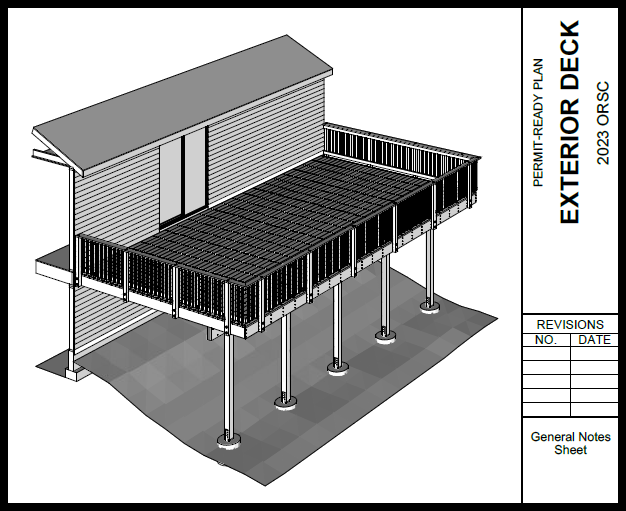
image by www.oregon.gov
Final Thoughts
Preparing true permit ready drawings takes more than a good design; it requires a methodical process covering scope, research, coordination, and quality control. Following these steps in order, rather than rushing straight from concept to submission, gives your project the best possible chance at first-time approval and keeps construction on schedule from day one.